Create Your first hello world API
Develop a Hello World REST API on quick integration platform which will accept a GET request and return below message as a response:
{
  "status": "hello world"
}
SETP 1:
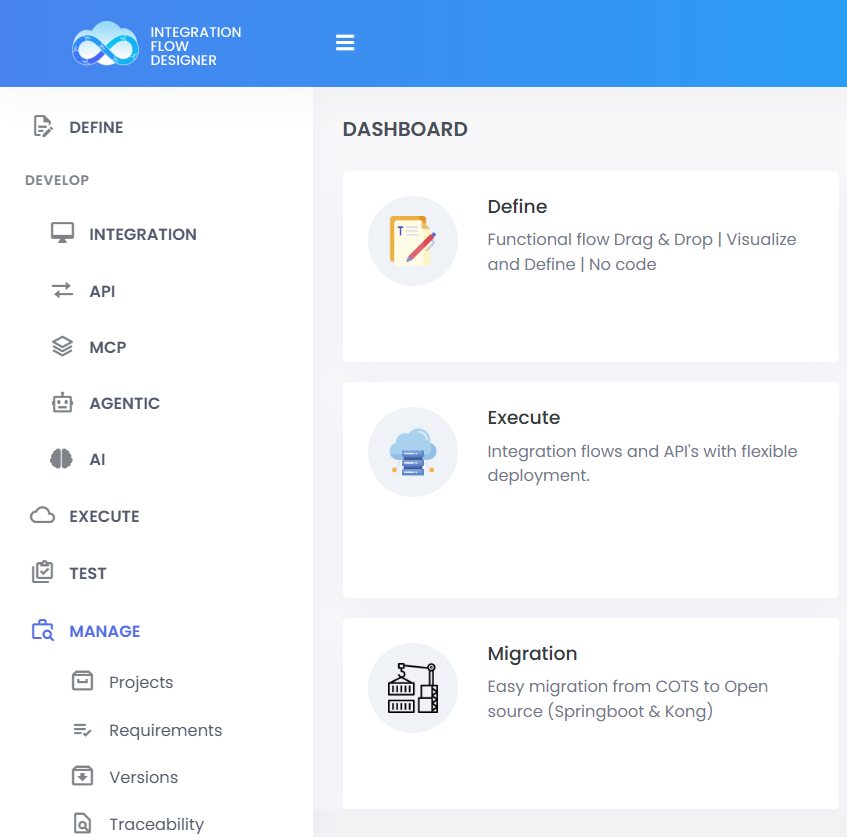
Login to Quick Integration Platform to get started.
 ;
;
STEP 2:
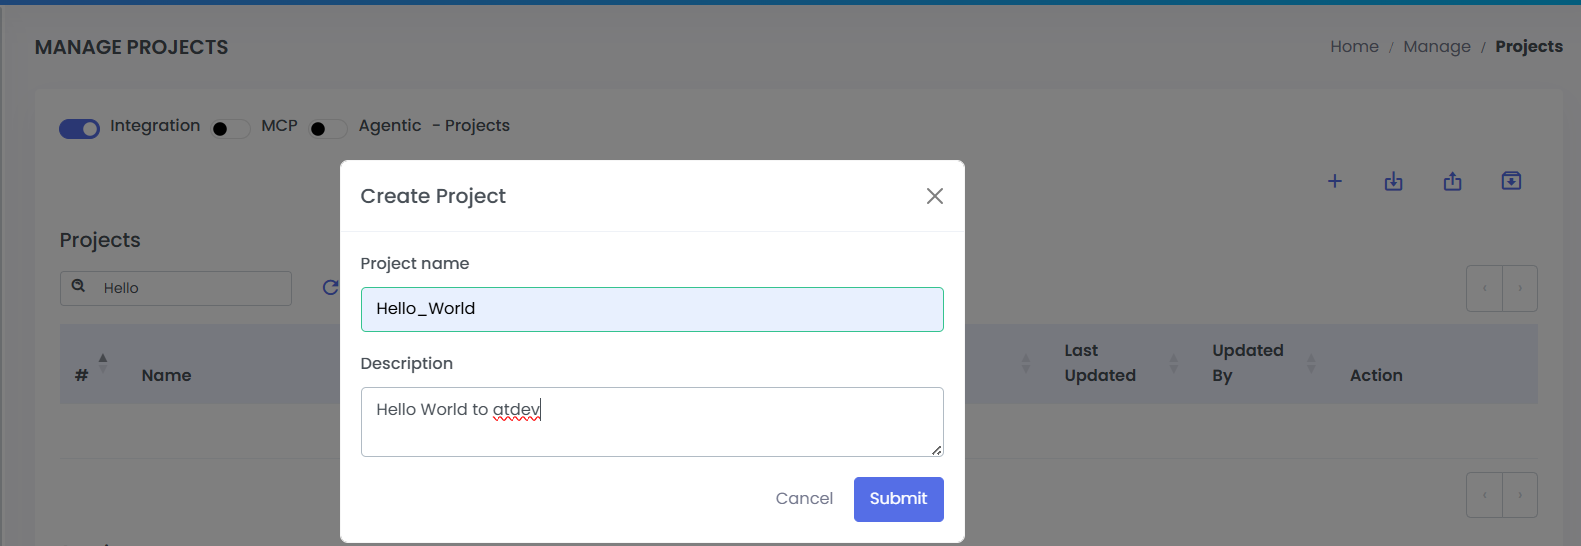
Click on Manage Option >> Projects >> Click the + to create a new project.
 ;
;
Give Proper name and desrciption to the project. Project Name should be unique.
 ;
;
STEP 3:
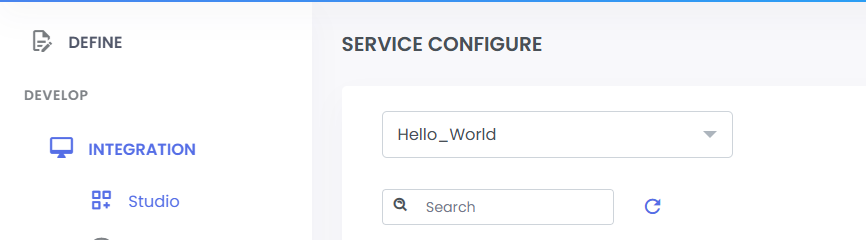
Go to DEVELOP >> INTEGRATION >> Studio. Select the created project name from the drop down.
 ;
;
STEP 4:
Create a service greetings in your project, by cliicking the + button on the righ-hand side. Give a proper name to service and select the trigger of choice. Here we are creating rest trigger service.
 ;
;
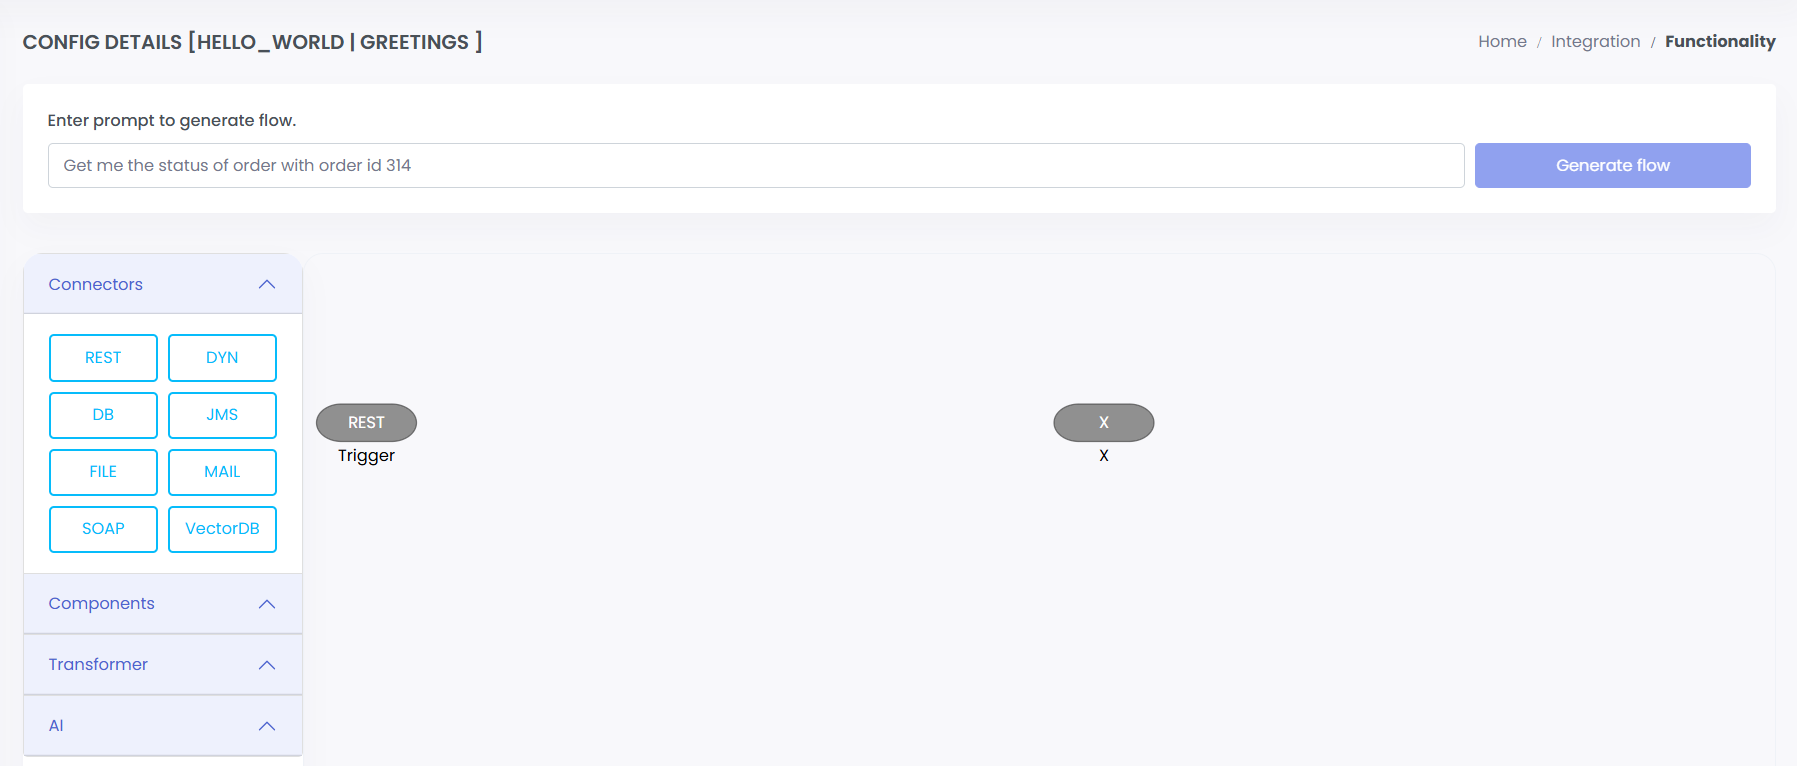
By clicking submit, it will direct you to the service development page. Here you can develop the flow of you service.
 ;
;
Step 5:
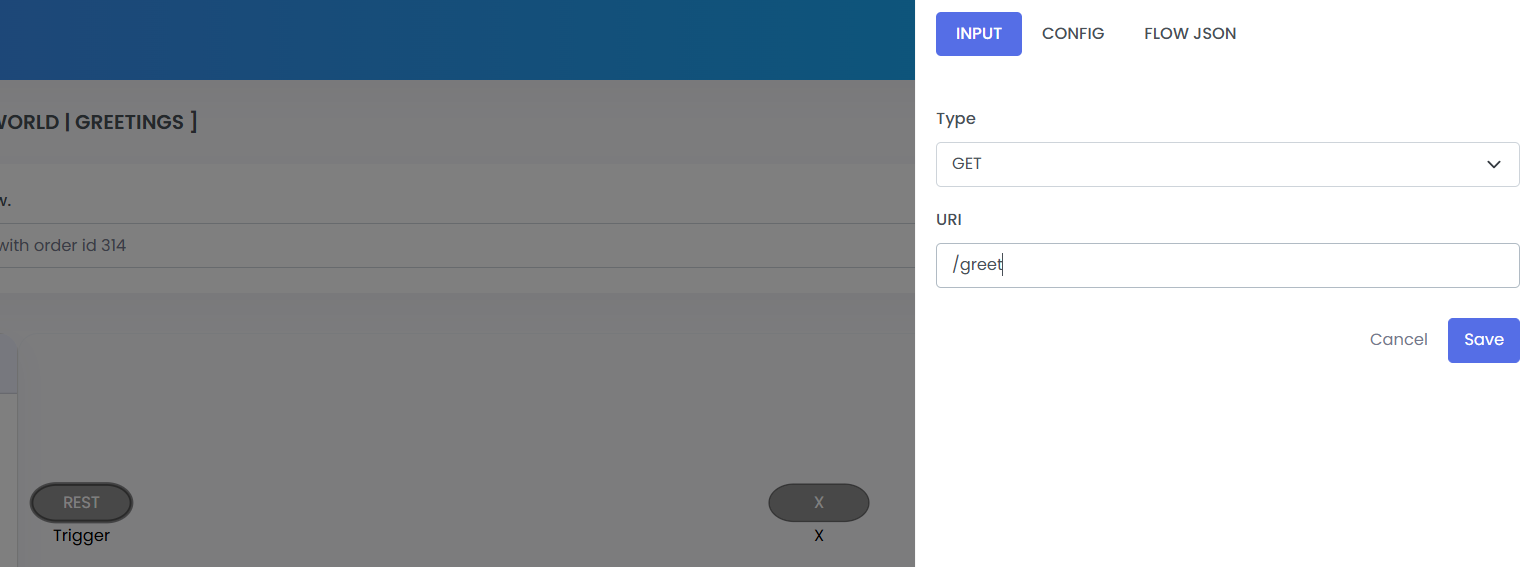
Let's start by configuring the first node of the flow, TRIGGER. Left-Click the Rest Trigger node on the canvas and you will see a panel like this-
 ;
;
Configure the trigger with desired values. In the example, we have selected the rest trigger type as GET, so this will be a get rest api. We next set the uri to /greet, which will be the endpoint to the api.
Step 6:
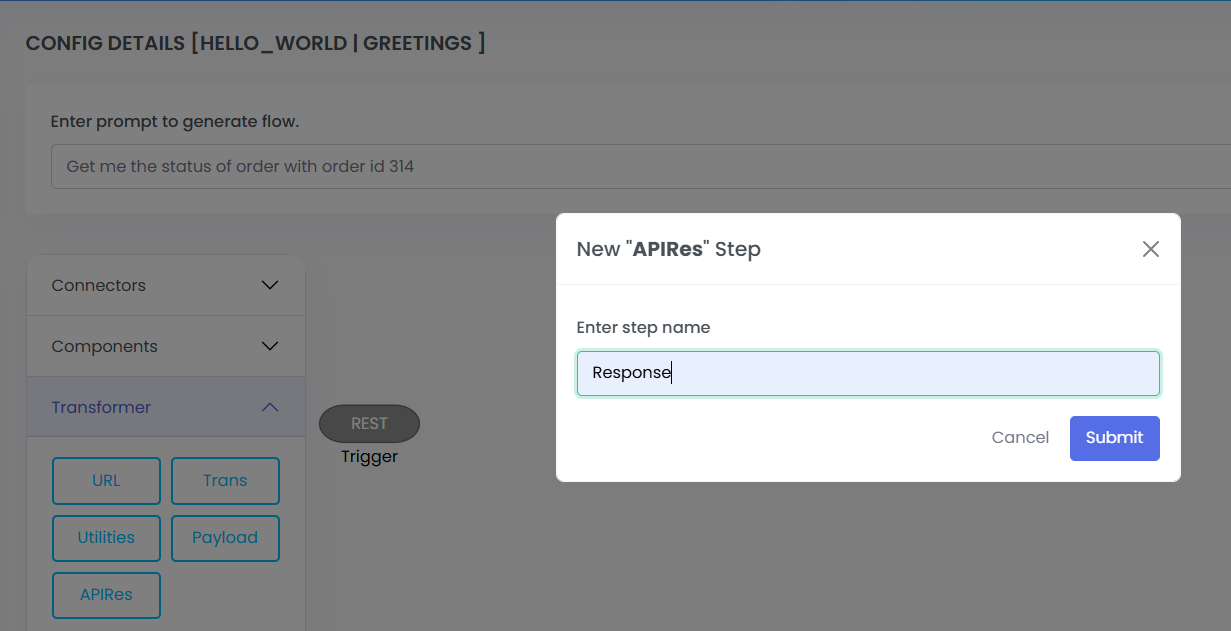
Drag and drop APIRESPONSE Transformer from the pallet. Give a good name to the node. Node names are unique in a service.
 ;
;
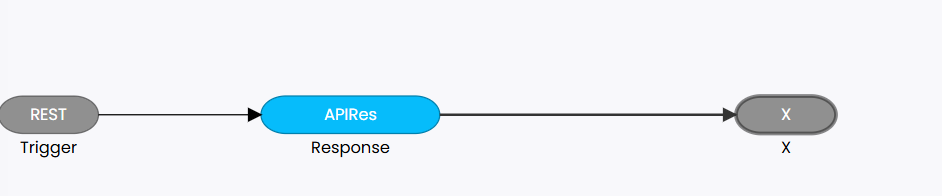
Place it between the rest trigger and X node. Connect the flow by first clicking on triger, then clicking response node and finally the X. Simply click the node single time, then next node to connect the 2 nodes.
 ;
;
Step 7:
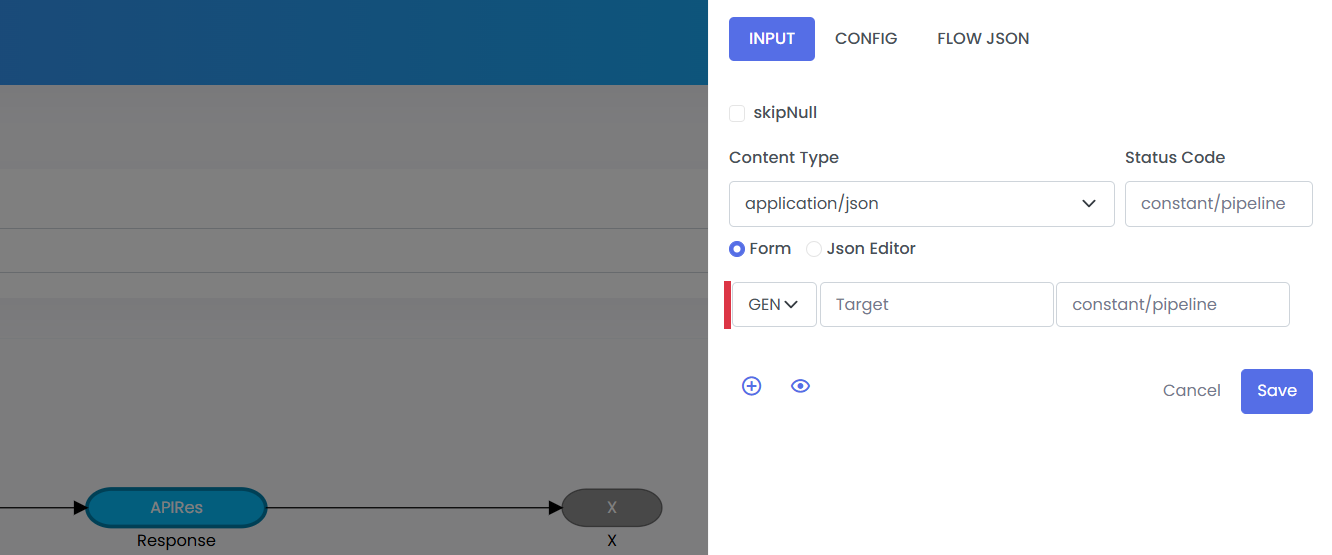
Left click on APIRESPONSE Transformer and Configure as given below.
 ;
;
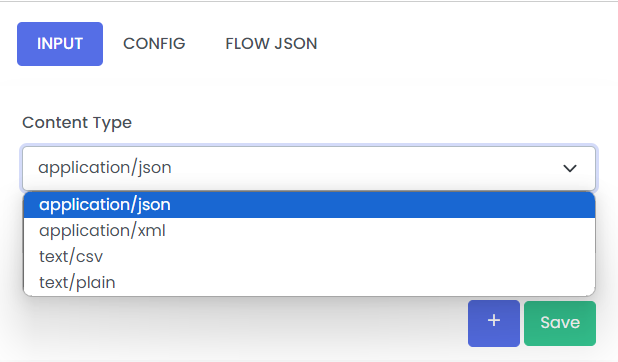
Step 8:
Click on the Drop down and select Content Type application json.
 ;
;
 ;
;
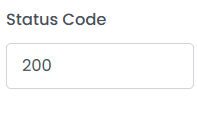
Step 9:
Set the value of Status Code to 200 for success response of the rest api. You can set anyvalid http status code here.
 ;
;
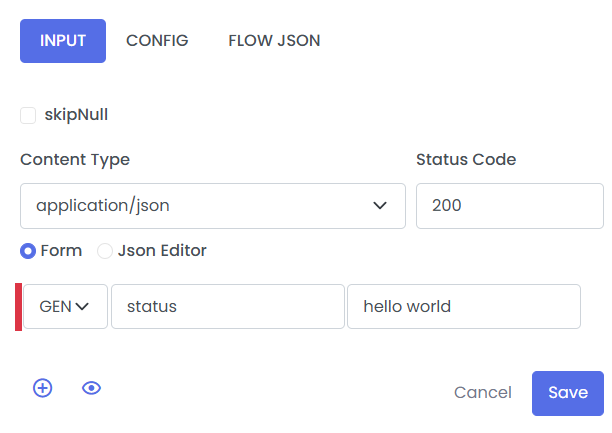
Step 10:
Click on Add button From Drop down select GEN
 ;
;
Set the value of the Target feild to status and next feild of value to hello world.
The configuration of the APIRESPONSE Transformer appears as follows:
 ;
;
Step 11:
Save the service by clicking the button highlighted in yellow. And validate it once by clicking the button highlighted in green, to ensure all the properties manadatory are saved.
 ;
;
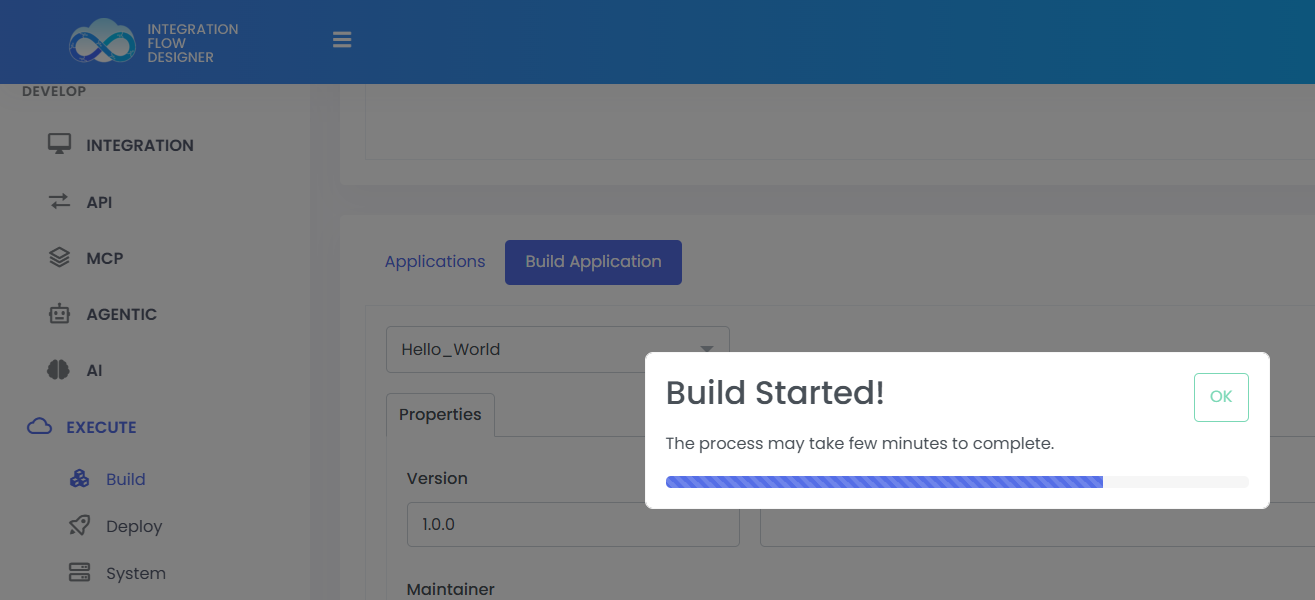
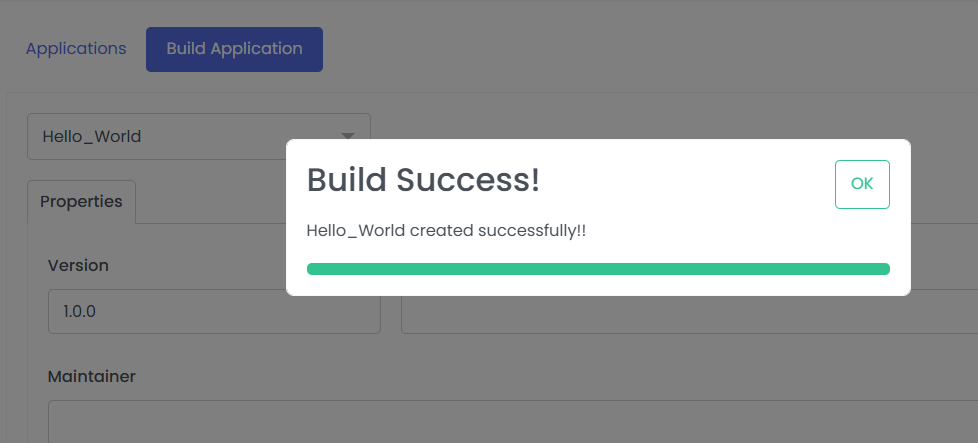
Step 12:
Go to EXECUTE >> BUILD to Build the application.
 ;
;
 ;
;
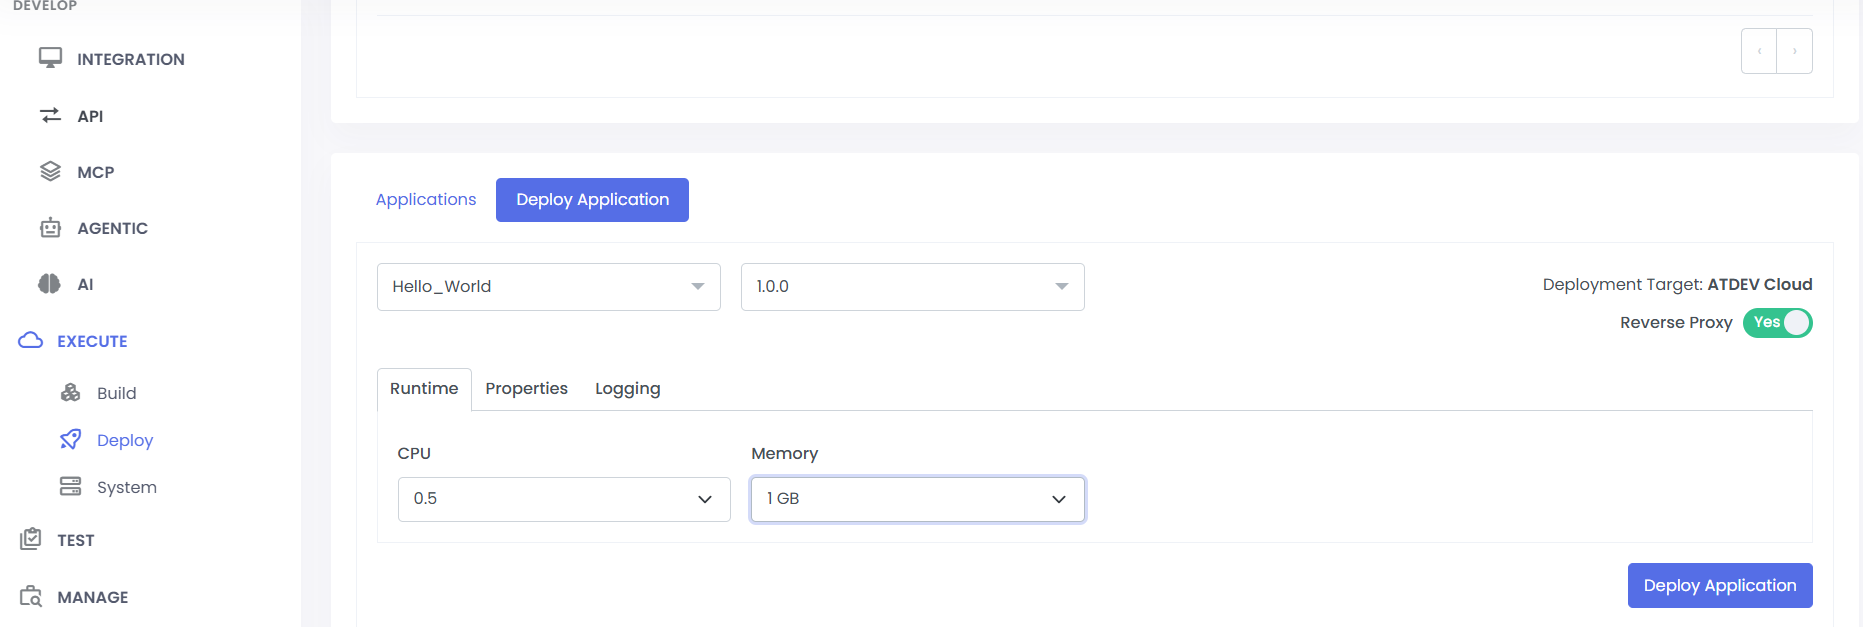
Step 13:
Deploy the application after build. Go to Execute >> Deploy >> Deploy Application tab. Select the your hello_world application from drop down, the build version you given while build. Select CPU and Memory.
 ;
;
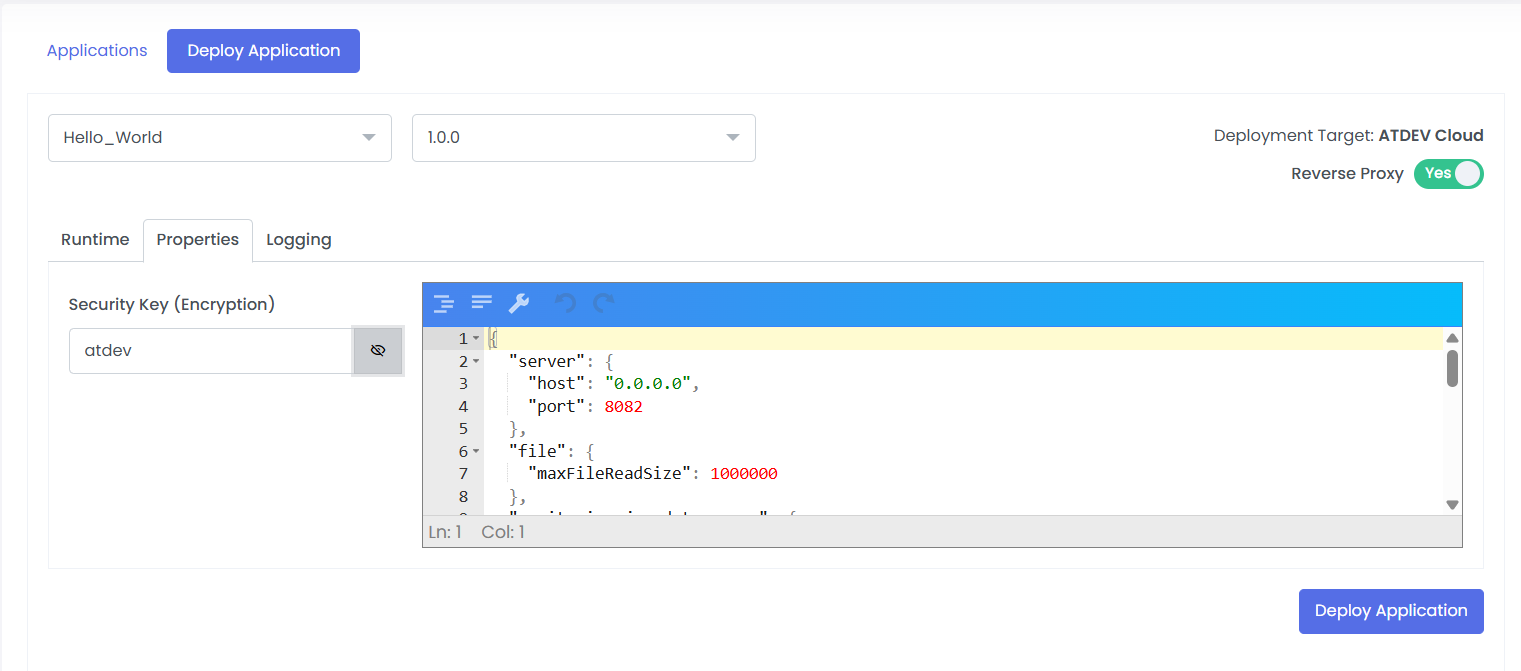
Then in properties tab give a secret key to your application. Then finally click deploy.
 ;
;
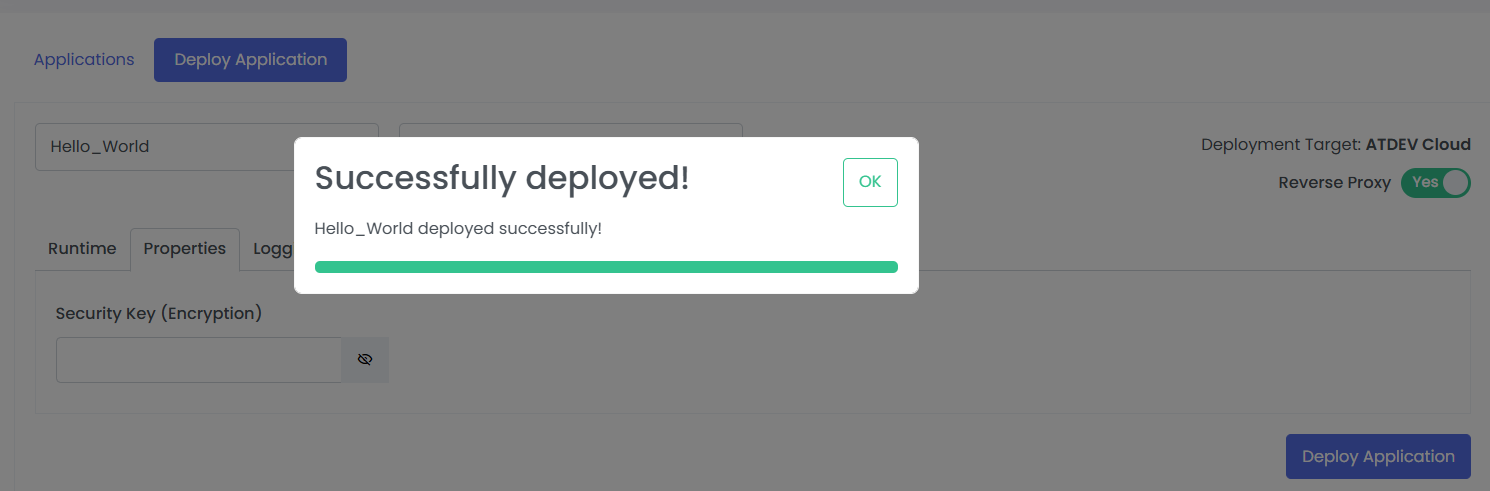
Wait a few secs and you will see the app deployed.
 ;
;
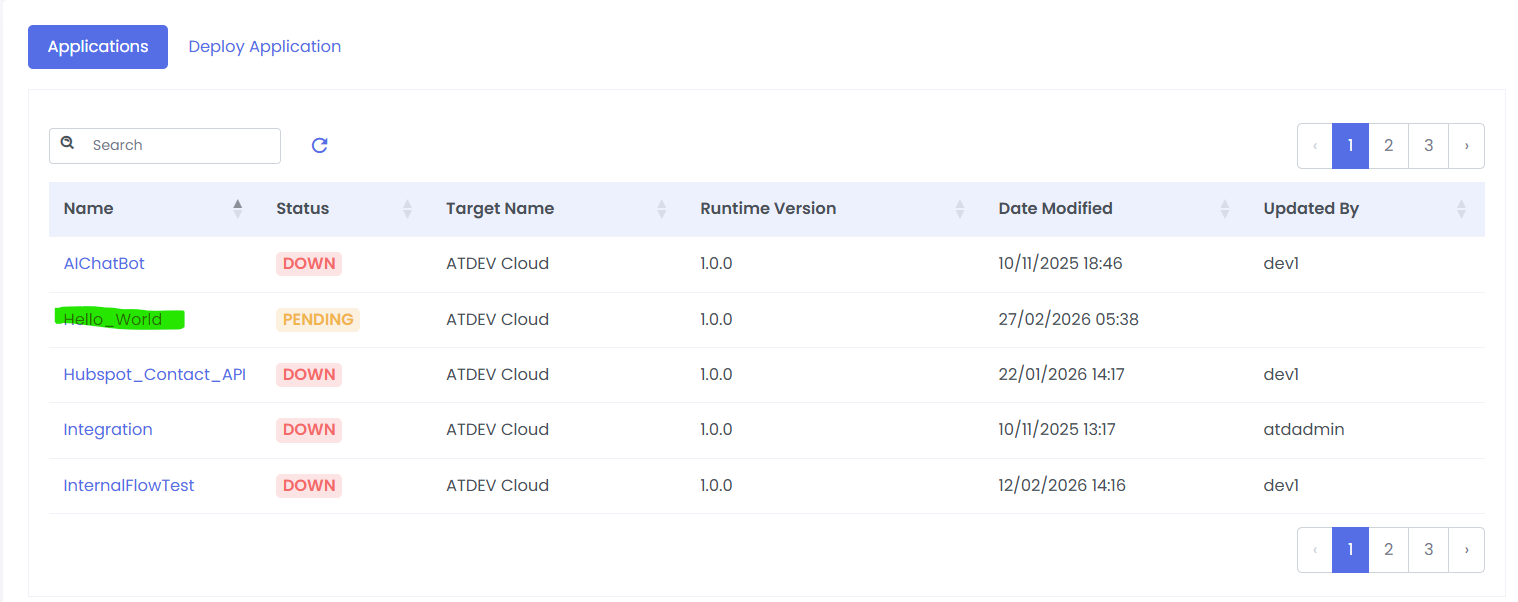
Step 14:
Go to application and Bring UP the application by clicking on project.
 ;
;
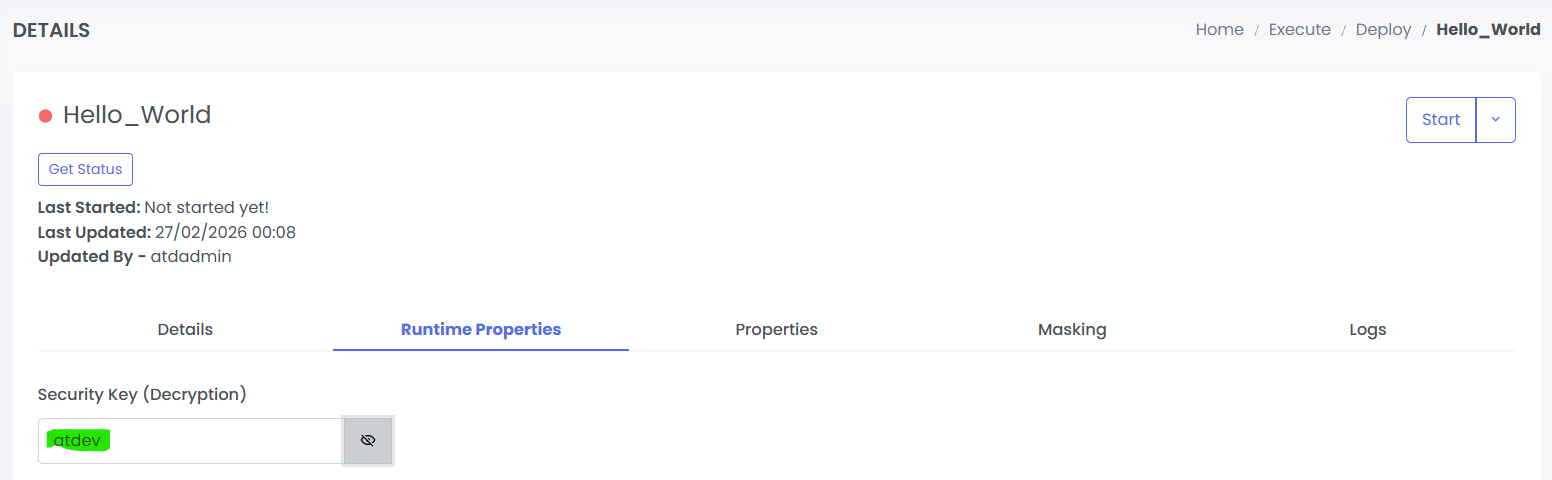
Step 15:
Provide the security key and start the API.
 ;
;
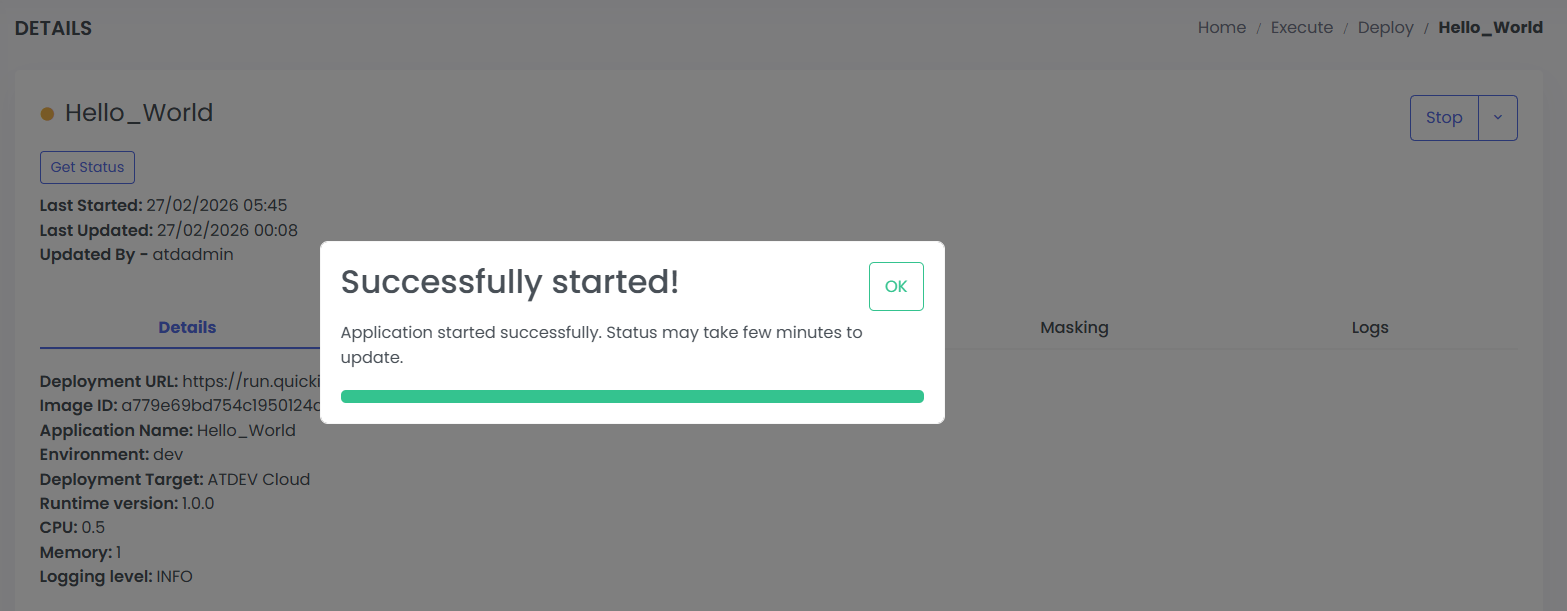
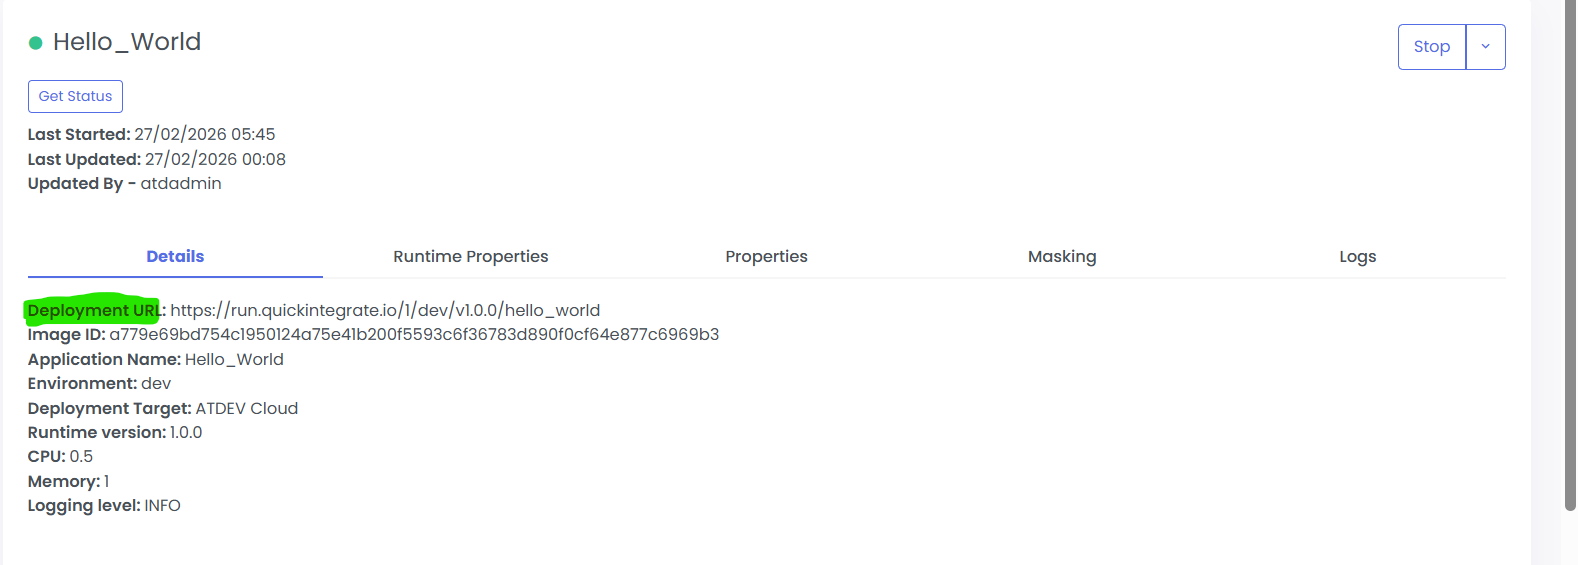
Step 16:
Once you Successfully started your API, you will find Development URL in Details Coloumn.
 ;
;
 ;
;
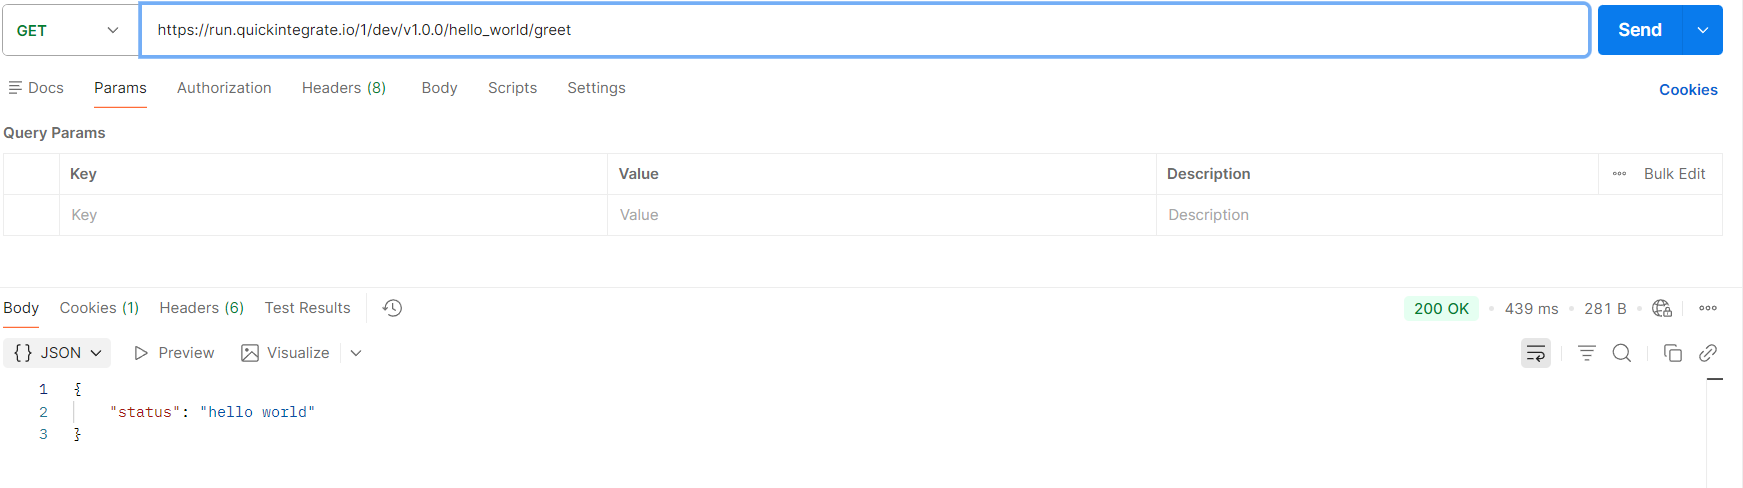
Step 17:
Using the QuickIntegrate deployed URL You can Test your API using Postman Collection
 ;
;
Final Postman request and response for the hello world API.